
Automating data classification and privacy requests fulfillment by integrating MineOS with Snowflake
Before you start
- Make sure your MineOS plan supports integrations.
- Make sure you have sufficient permissions on Snowflake to a new role.
Setting up
To connect the Snowflake integration, follow the steps below:
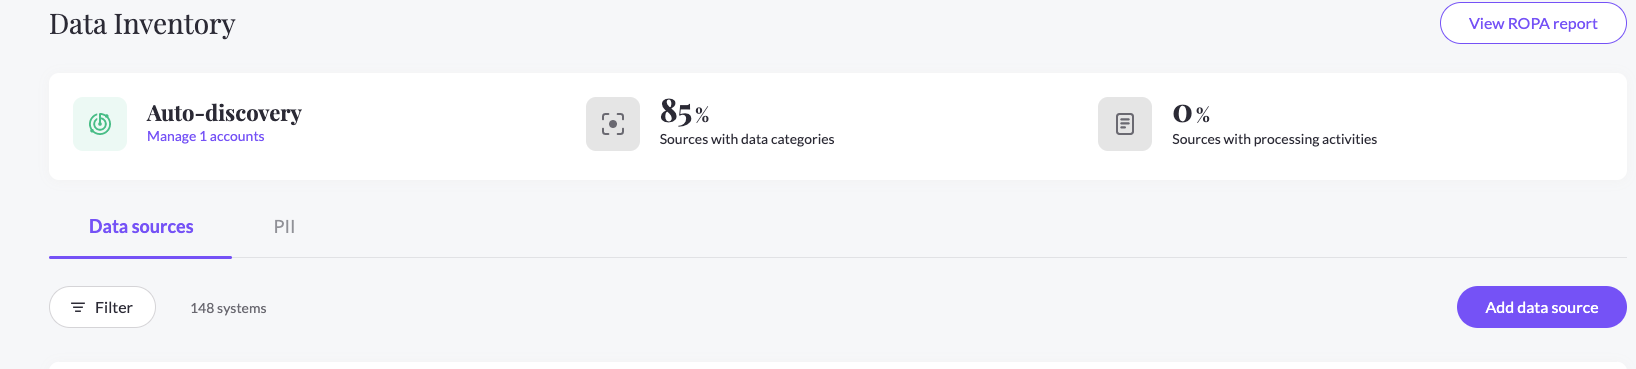
- On the left sidebar, click Data Inventory and then Data Sources
- Click on Add data source
- Select Snowflake from the catalog, then enter the Snowflake page from your data sources list
- In the RequestHandling tab, check the Handle this data source in privacy requests or check the Use source in Content Discovery checkbox and choose the Integration handling style
- Create a custom user and role for the integration:
-
From your Snowflake account admin, go to Worksheets
-
Open a new worksheet and run each of the following commands (Separately. with the saymine user and password as you chose):
-
use role accountadmin;

CREATE ROLE MINEOS;

CREATE USER <saymineUser>

    PASSWORD = '<sayminePassword>'

    LOGIN_NAME = <saymineUser>

GRANT ROLE MINEOS TO USER <saymineUser>;

grant usage on database <my_db> to role MINEOS;

grant usage on schema <my_db>.<my_schema> to role MINEOS;

grant monitor on warehouse <warehouse_name> to role MINEOS;

grant usage on warehouse <warehouse_name> to role MINEOS;

grant select on all tables in schema <my_db>.<my_schema> to role MINEOS;

grant delete on all tables in schema <my_db>.<my_schema> to role MINEOS;
6. Or do the following instead:
-
- Create a new role named “MINEOS” (Note: You can use any name for this role).
- Create a new user for the integration, and grant the role MINEOS
- Grant ‘usage’ for the required database to the role MINEOS
- Grant ‘usage’ for the required schema to the role MINEOS
- Grant 'monitor' for the required warehouse to role MINEOS;
- Grant 'usage' for the required warehouse to role MINEOS;
-
- Grant ‘select’ and ‘delete’ on the required tables to the role MINEOS
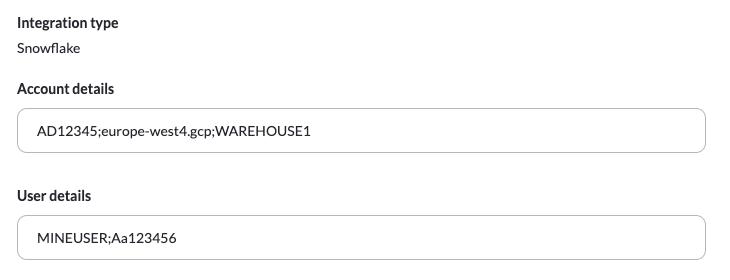
User and Account Details
- Under User Details: Insert your new Snowflake username, password and role in the following format:
username;password;role
- Under Account Details: Insert your Account Identifier, Region, and Warehouse in the following format:
accountIdentifier;region;warehouse
For more information on how to find your account identifier, please read here.
- Under "Query used for search records & delete validation"/Copy/Delete Query: Add a SQL query in the format as shown below at "DSR Queries", The queries are mandatory!
Data Classification
When using Content Discovery for your tables data, you need to make sure you have given the snowflake user the required permissions to your relevant tables.
Upon content discovery we will scan your tables, and analyze each row's data in our PII Processing Engine. These scan results will be added to the data types of your integration general info.
DSR Queries
To manage your DSR handling actions, you need to define the queries that will run in Snowflake for each possible action:
Note: The queries you use won't be validated. You should run them in your Snowflake account to make sure they are running as expected
Query used for search records & delete validation
The query will be used for showing how many records were found as well as showing a sample (preview) of the data. Also, it will be used as a validation for the delete action.
Example Query:
SELECT name, age, country FROM db.schema.table WHERE NAME = {{endUserEmail}}
* Preview will return the count of the number of records returned in the query response
* Preview will show the first 3 values from the query response, it supports strings and long types
* The variable is mandatory
Copy Query
The Copy query will be used for the Copy action. Copy action is running on the ticket processing page in ticket of type Copy when clicking on Generate Copy
Example Query:
SELECT * FROM db.schema.table WHERE NAME = {{endUserEmail}}
* Copy will show all records returned in the query response
* The variable is mandatory
Delete Query
The Delete query will be used for the Delete action. Delete action is running on the ticket processing page in ticket of type Deletion when clicking on Delete from X sources
Example Query:
DELETE FROM db.schema.table WHERE NAME = {{endUserEmail}}
* The variable is mandatory
Paste the details and queries in the Request handling tab in the correct inputs and click Save.
Troubleshooting
Error: "Must provide a Preview Query"
You must provide a preview query in order for the Snowflake integration to work. You can use `select 1` as a placeholder query.
Error: "Response status code does not indicate success: 403 (Forbidden)."
This usually means there is an authentication issue with the connection details. The problem can happen for a number of reasons:
- The username/password is wrong.
- Or, the required SAYMINE role was not created properly (described above).
- Or, the account ID or warehouse are wrong.
Error: "The SSL connection could not be established, see inner exception."
When this happens you should use a dashed (-) version of the account ID & region instead of an underscore (_) version. For example instead of `my_account_id;my_region;my_warehouse` use: `my-account-id;my-region;my_warehouse` (replacing _ with - in the accountId and region)
What's next?
Read more about the deletion process using integrations here.
Read more about the get a copy process using integrations here.
Talk to us if you need any help with Integrations via our chat or at portal@saymine.com, and we'll be happy to assist!🙂