
Build a branded form where your users and employees can request to exercise their data privacy rights.
How to find the privacy center setup page:

To activate your Privacy Center, click "Activate" on the upper right corner of the page.

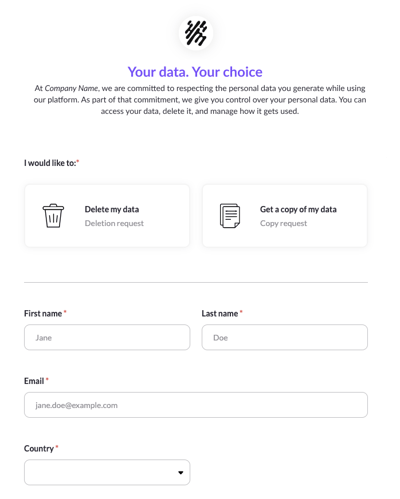
Upon activating, your Privacy Center will be enabled with default settings (see image).
There are three customizable components of your Privacy Center:
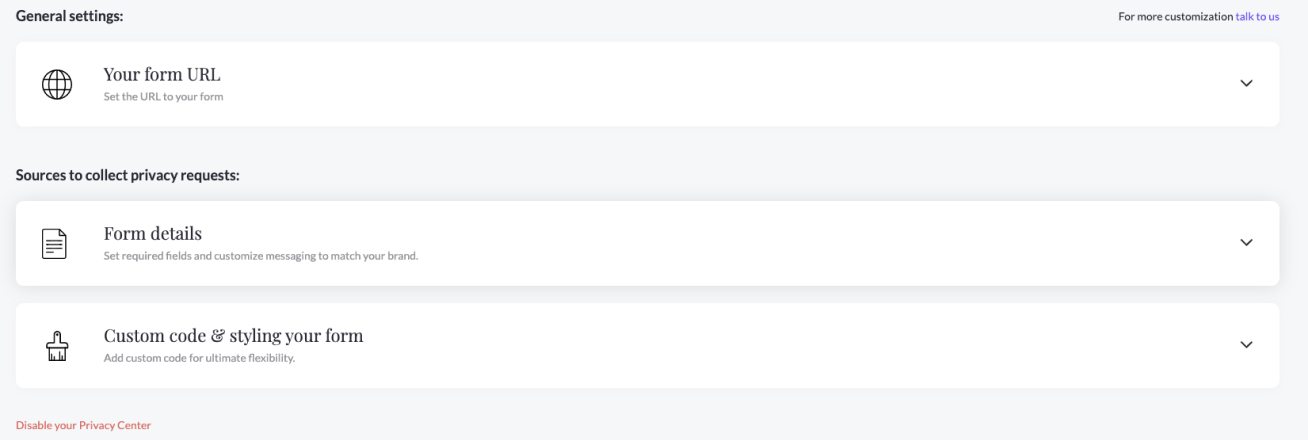
- Set the URL to your form (Your from URL)
- Set required fields and customize messaging (Form details)
- Add custom code & styling (Custom code & styling your form)
1. Set the URL to your form
Under the "General settings" section, select "Your form URL". Next, define the URL where you want your Privacy Center to be available.

Note: Your Privacy Center will be hosted on a Mine-owned subdomain. If you prefer to make your Privacy Center available through your domain, you can set it up as a custom domain. Learn how here.
2. Set required fields and customize messaging
Under "Sources to collect privacy requests", select "Form details".
Here you can customize any of the following fields of your Privacy Center:
- Localization: Select the languages in which the form will be available. While filling out the form, users will automatically see the form in their local language and will have the option of selecting another language from the others available.

Note: You can edit the form separately for each language by selecting the language you want to edit.

- Privacy policy: Set a link to your privacy policy and toggle-on to show your privacy policy in your requests form.


- Title: This section allows you to customize your form's header. The text you enter here will appear in the box below.
-png.png)

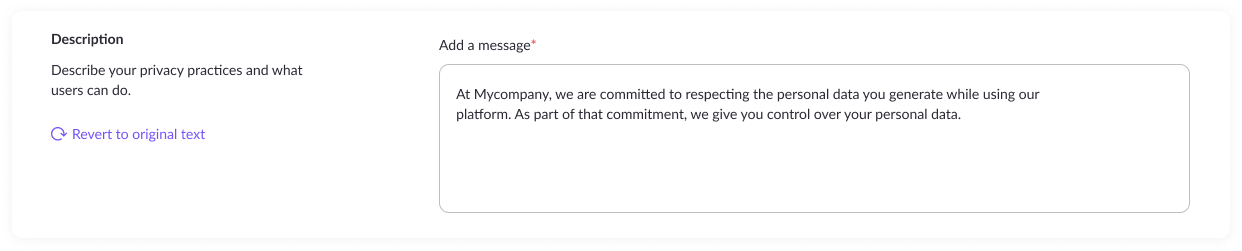
- Description: The description message for your users can be customized in this section. The text you enter here will appear in the box below.

- Required fields: Select the desired fields for users to fill out when submitting requests using this form.
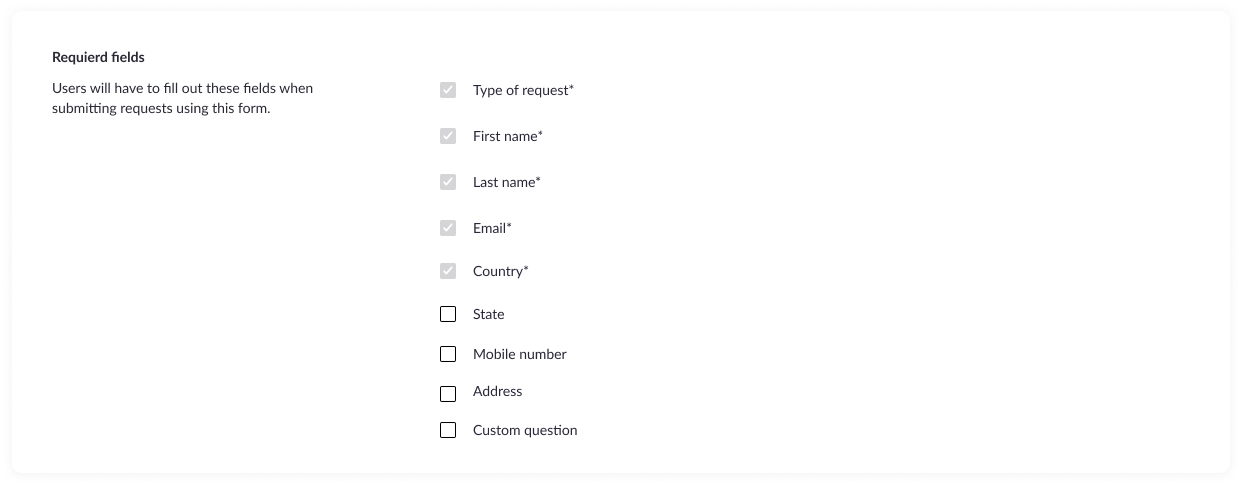

Note: Users must fill in all the required fields to submit their requests.
Tip: Add a custom question to your form where users can select one or more answers from your defined options. The data subject replies will be displayed on the request page under "Reported by customer".

Important: For a form with multiple languages, the custom question must be defined separately for each language. If no custom questions have been defined for the localized language, the custom question will not appear on the form.
The email verification process
Every user who submits their privacy request using the Privacy Center web form must complete an email verification process that confirms the requesting user as the owner of the email address specified in the request.
How does this work?
Once a user fills in all the required fields & submits the form, they will receive a verification link to their email address.
Note: Unverified requests can be found under the "Unverified" tab of the open requests page.
Upon verifying their request, the request status will change from "Unverified to "Review" and will be ready for processing.
If the user fails to click on the link within 24 hours of receiving the verification email, a second reminder email will be sent. The verification link will remain active for seven days. If the user does not verify request within those seven days, the request will remain under the "Unverified" tab.
Note: You can customize your Privacy Center verification email. Learn how here.
3. Add custom code & styling
Adding custom code for hosted forms can be done by going to your Privacy Center configuration page and selecting the "Custom code & styling your form" section.

Add your custom code in the text area and "Save changes".
Tip: Test your Privacy Center on every change to the custom code to make sure your code is working.
Example: Using CSS to customize branding

Next steps..
Ensure all channels are set up for receiving DSRs! You don't want to miss any. Enable email forwarding from your company's privacy email to MineOS.
If you have questions about the Privacy Center, write us at portal@saymine.com, and we'll be happy to help!🙂